


unarchive In The Box of 16.1101 keyboard_arrow_down
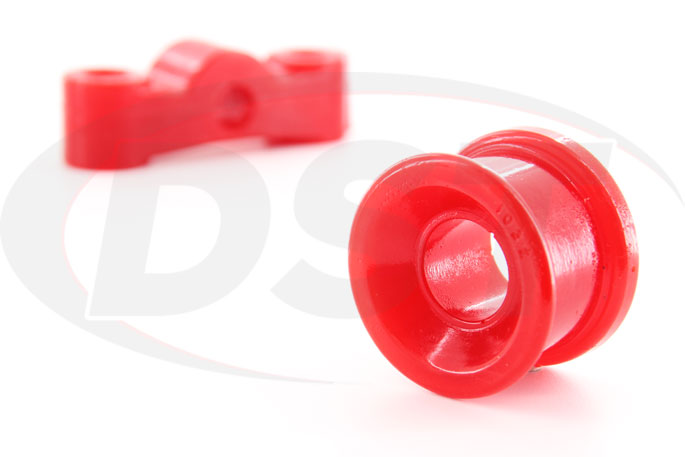
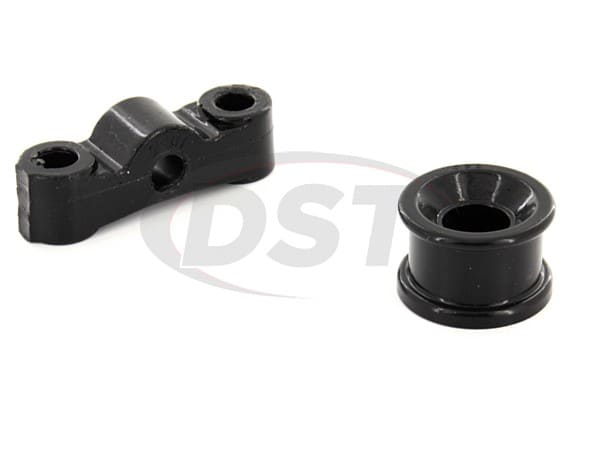
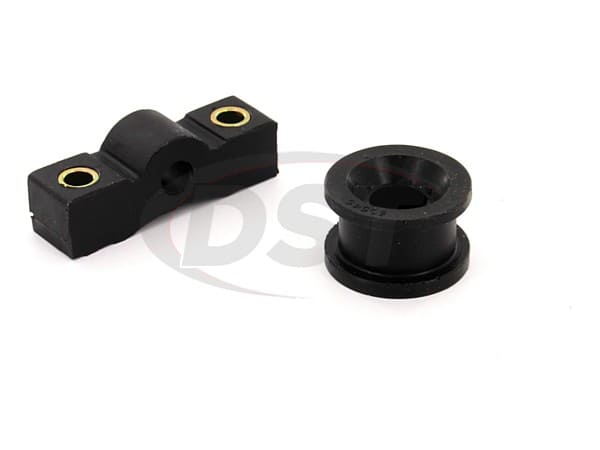
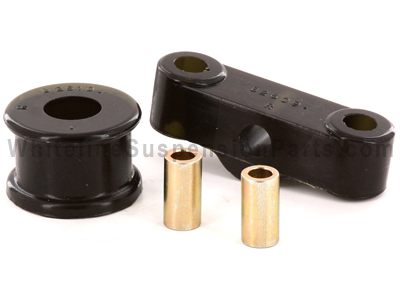
- 1 - 1032 - Bushing at Transmission
- 1 - 1033 - Bushing at Shifter (same for B and D series Engines)
- 1 - Installation Instructions # 17161
lock Warranty Information keyboard_arrow_down
- Energy Suspension warrants its products against defects in workmanship and material for 24 months when used on passenger cars and light trucks. Products that have been abused, altered, or incorrectly installed are not covered. Energy Suspension will replace defective products or component parts, if inspection for factory personnel determines the part to be defective. Warranty replacement covers only the product. Labor claims, time loss, or freight charges will not be honored.
shuffle Cross References 2keyboard_arrow_down
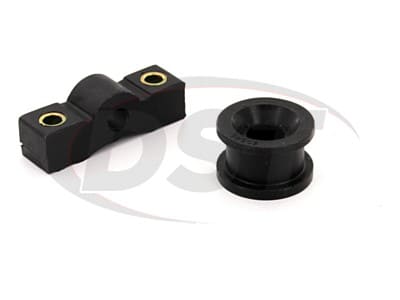
Polyurethane. Includes metal grommets to prevent over-torquing.
Price: $11.97
Warranty: Lifetime Warranty

Polyurethane.
Price: $25.88
Warranty: From 3 Years to Lifetime Warranty
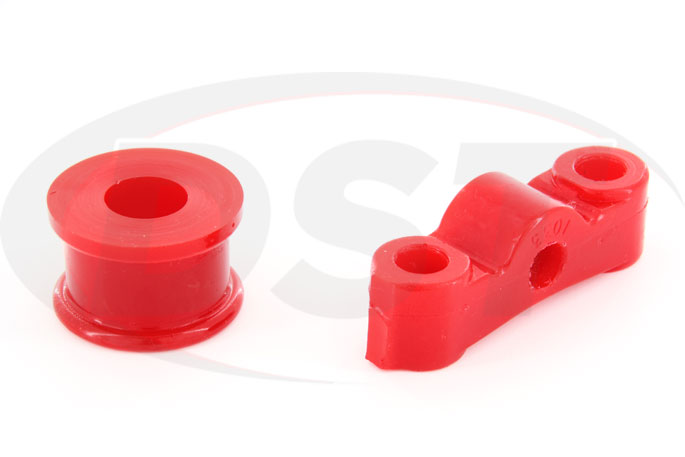
Shifter Stabilizer Bushings '84-'00 Honda Civic + '90-'01 Acura Integra
If you're having trouble putting your Honda Civic into gear or you notice the shifter on your Acura Integra has more play than it used to then your shifter bushings might be worn out. The original shifter stabilizer bushings in your Honda or Acura are made of rubber, and can wear down quickly, but replacing them with Energy Suspension's polyurethane Shifter Stabilizer Bushings can help your Civic or Integra find those gears every time.
Replace or Upgrade?
Now rubber does a good job of keeping some of the vibrations from the road and motor away from your shifter, but it does this by flexing. This flexing can wear these bushings down until they fail completely. Here in Stephenville, Texas the summer heat reflecting off the road can slowly cook those rubber bushings, further degrading them past just normal everyday wear. You could get some more rubber bushings that will leave you with the same problems someday, but what if I told you there is a longer lasting solution to this eventual problem?
+ and -
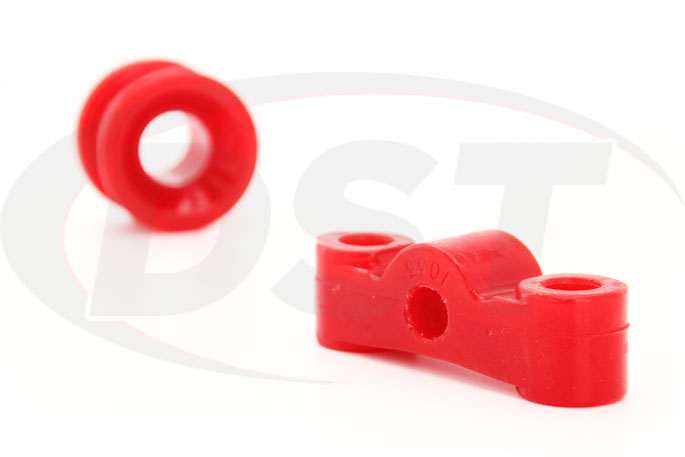
Energy Suspension's polyurethane shifter stabilizer bushings can hold up against the weather, and chemicals, that rubber just can't keep up with. These polyurethane bushings also tighten up that shifter, helping you find the correct gear without missing like a worn rubber bushing.
Since polyurethane is so much more durable than rubber these bushings will allow more vibration to pass from the motor and transmission to the shifter. This said, you won't have to worry about missed gears for the life of your vehicle, and DST covers these bushings with an exclusive lifetime warranty.